NOTE : This article was published on EndUserSharePoint.com a couple of weeks ago and because of the wonderful feedback I received, I decided to cross-post it here too.
This is the third article in a multipart series that is intended to help you creating mailing lists for your SharePoint sites or blogs without writing a single line of .NET Code. In the introductory article, I have listed the project initiatives, requirements, and objectives. In Part 1, I created a secured backend where we will store the subscribers’ contacts. In Part 2, I have configured the ‘Contact’ content type, created a subscription form for the mailing list and did some simple customizations to it.
In this article, I will customize the subscription form I created in the previous article, utilize the magical DataFormWebPart to remove the unneeded columns, and change the form validation to be client sided rather than the default server-sided validation.
I will also show you how to validate the email addresses entered by the subscribers using regular expressions and, at the end, I will thrash out a trick to enable the DataFormWebPart to be viewed by anonymous users.
Let’s get started!
- In the Design view, click the default List Form Web Part to select it. From the Code View, put the cursor straight away before the ListFormWebPart and press enter.

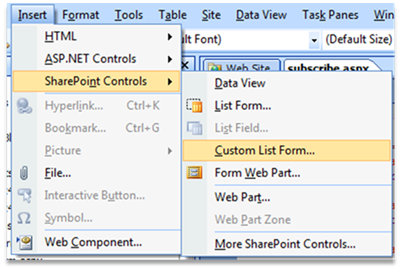
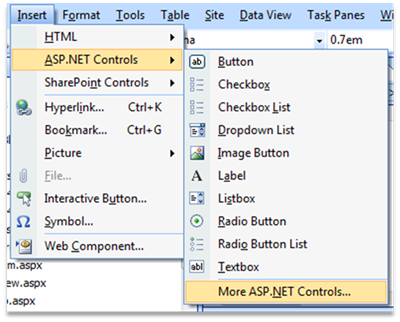
2. On the Insert menu, point to SharePoint Controls, and then click Custom List Form.

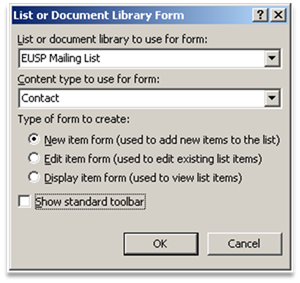
3. The List or Document Library Form dialog box opens up.
3.1. In the List or document library to use for form list, choose the list where we store our subscribers’ contacts.
3.2. In the Content type to use for form list, choose the ‘contact’ content type.
3.3. Under Type of form to create, click the ‘New item form’ as shown in the figure below.

3.4. The custom list form can comprise a toolbar to assist users in carrying out frequent actions for an item. The commands on the toolbar vary according to the type of the form. For example, the toolbar for the New Item Form looks like the following one.

As you can see, we do not need this toolbar in our subscription form so do not check the show standard toolbar checkbox.
4. Now, the custom list form (Data Form Web Part) has been added to your subscription form. The custom list form shows the default fields for the selected form type, along with any default controls for each field. You can utilize the WYSIWYG tools in SharePoint Designer to add or eliminate columns, modify font formatting, or apply colors. When you do this, Extensible Stylesheet Language (XSL) is directly inserted into the HTML. Although it is possible to amend the XSL directly in Code view, you can make use of the formatting tools in Design view to apply XSL without studying any XSL.
- 4.1. Remove all the unwanted fields from the form by removing the whole unwanted rows.
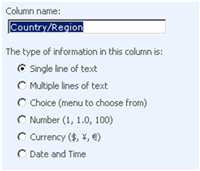
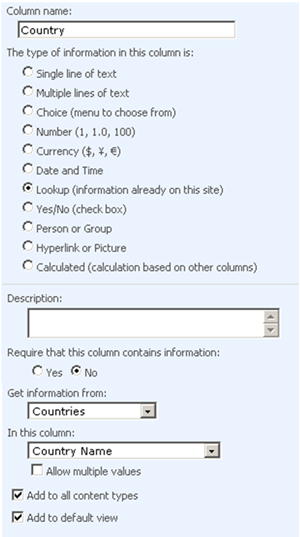
4.2. Rename ‘Country/Region’ to be only ‘Country’.
4.3. Change the font formatting, or apply the colors that go with your site’s theme.
4.4. Remove the Ok and Cancel buttons at the top of the DataFormWebPart. We need them only once on our form.

As you can see the DataFormWebPart is incredibly cool. Within the XSL, you can input any HTML you want and, in effect, the sky is really the limit.
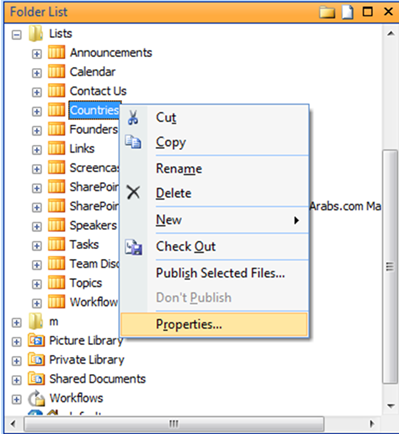
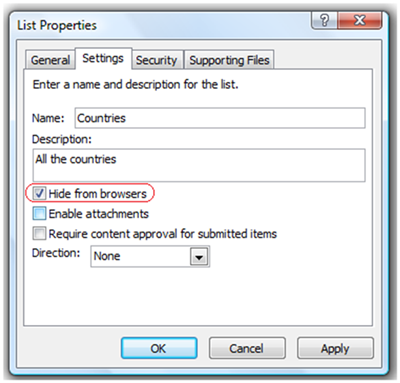
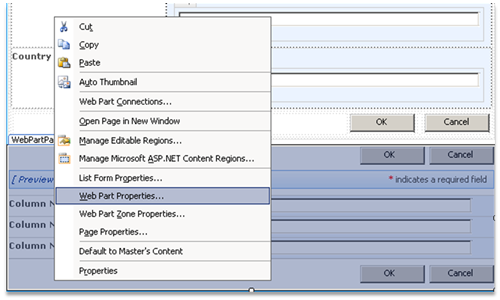
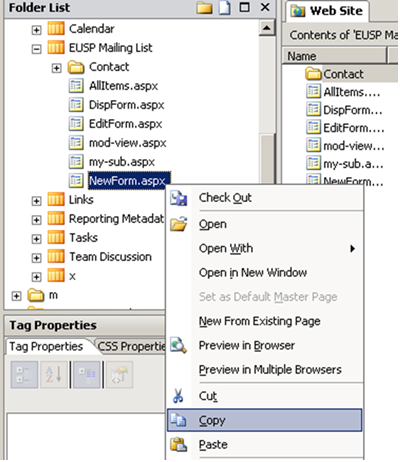
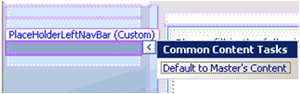
5. Now, you must hide the default List Form Web Part. Right-click the default List Form Web Part and then click Web Part Properties.
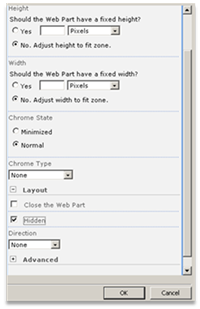
In the dialog box that appears, click the plus sign next to Layout, select the Hidden check box, and then click OK.


Note: Do not delete the default List Form Web Part. This will break the page’s connection to the list.
6. Next step is validating the users’ inputs. For instance, we need to make sure that the user has entered their e-mail address in a correct format since we are going to send them e-mails later.
6.1. Find the E-mail Address form field, right click on it in the designer, and click Show Common Control Tasks.
6.2. Change the “Format As” dropdown from “List Form Field” to “Text Box” as shown below.

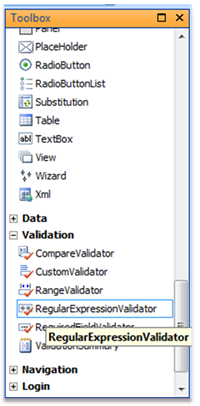
6.3. Now drop a RegularExpressionValidator control from the asp.net controls toolbox beside the E-mail address text box as shown beneath.


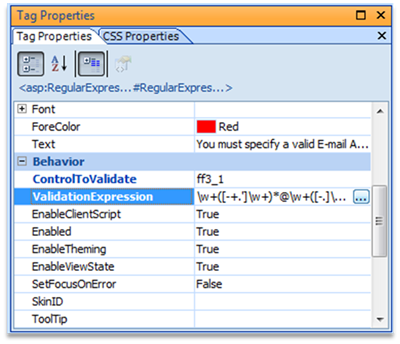
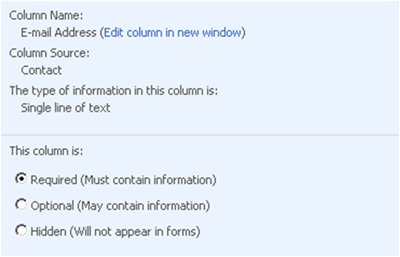
6.4. Specify the RegularExpressionValidator control properties (such as ControlToValidate, ErrorMessage, Validate Expression) from the Tag Properties toolbar.

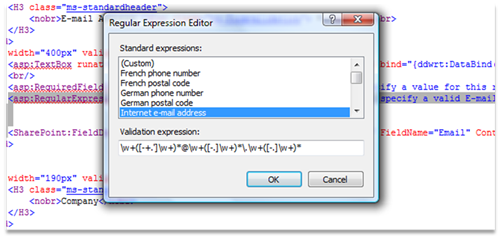
For ControlToValidate, choose the ID of the E-mail address field and for the ValidationExpression, choose Internet E-mail Address.

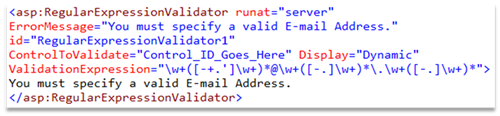
6.5. After specifying the control properties, you will end up with something like the following markup in the SharePoint Designer Code View.

That’s it! You now have custom client-sided validation on your form. You can also make use of the asp.net RequiredFieldValidator controls in the same way discussed in the previous step to make sure that the user has not left the text boxes empty.
7. In addition, you can modify the markup of your form however you want. For instance, you can substitute the SharePoint:SaveButton control with a traditional asp.net button that calls some custom java script to do custom logic and save the item to the backend. I will leave this point to another discussion.
Didn’t I tell you? The DataFormWebPart is an incredibly wonderful creature.
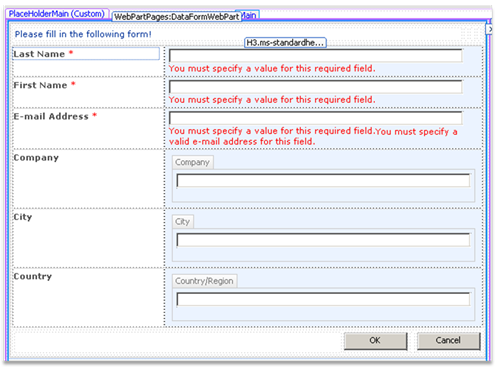
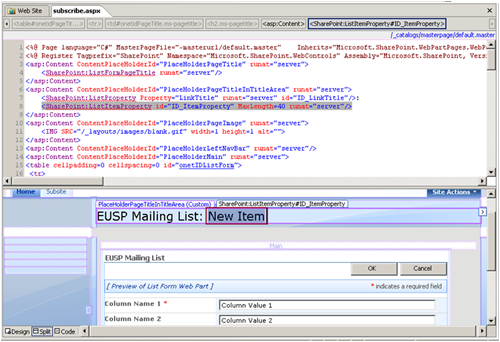
For me, I have ended up with the one shown below.

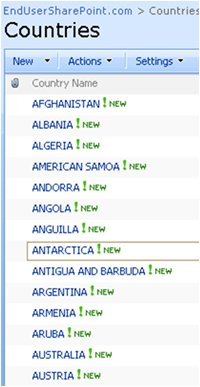
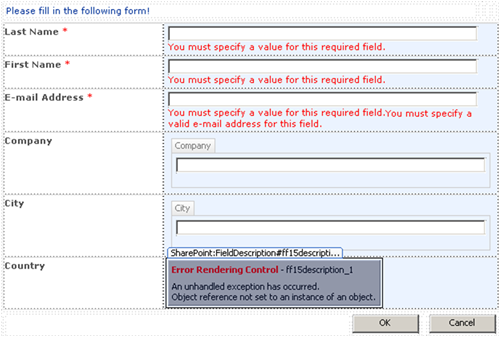
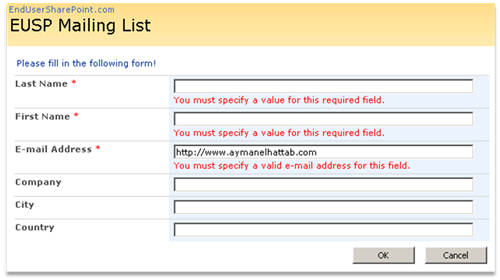
8. Save your changes and navigate to the subscription form anonymously. You will receive an error message like the one shown below.

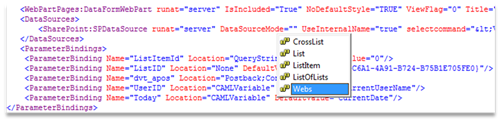
9 . I have blogged about this error on my blog a couple of weeks ago. For now, just set DataSourceMode of SPDataSource control to Webs or ListOfLists. This will permit anonymous users to view the DataFormWebPart that holds the subscription form fields

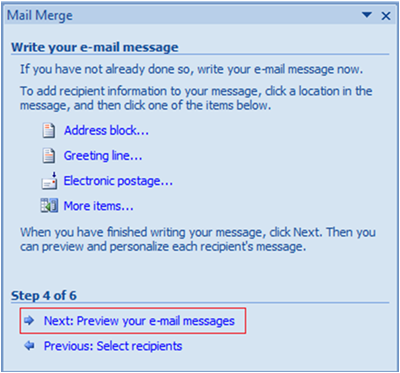
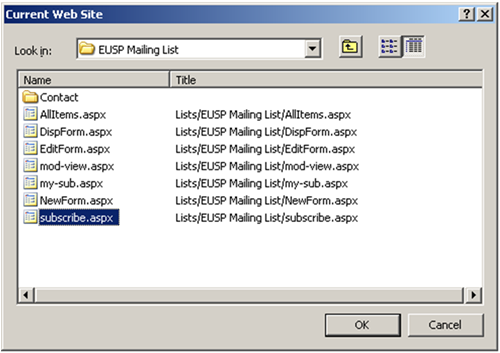
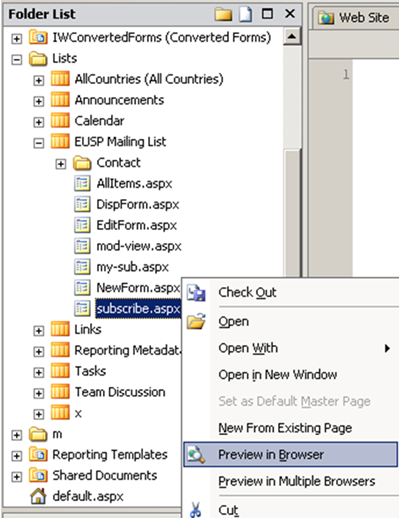
10. Congratulations! You are now ready to preview the page in the browser.

Summary
One of the initiatives of this series of articles is to show you how powerful and flexible the Data Form Web Part is. In this article, we have only scratched the surface; there are still a lot of cool and nifty features when it comes to the magical Data Form Web Part. Laura Rogers has really done a great job discussing and discovering wonderful features in the Data Form Web Part. I would advise you to have a look at her articlesat EndUserSharePoint.com for more tips and tricks.
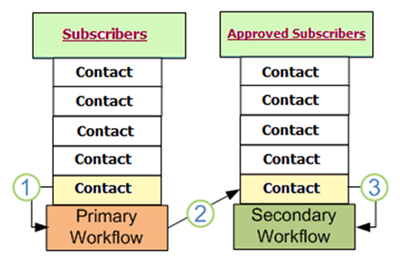
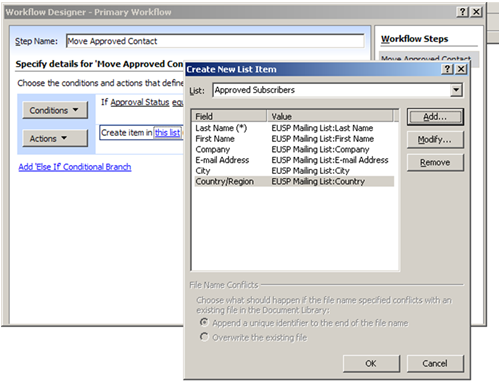
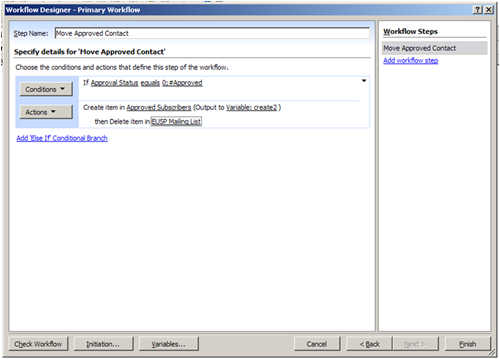
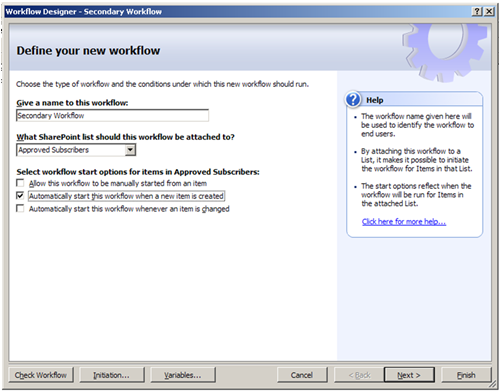
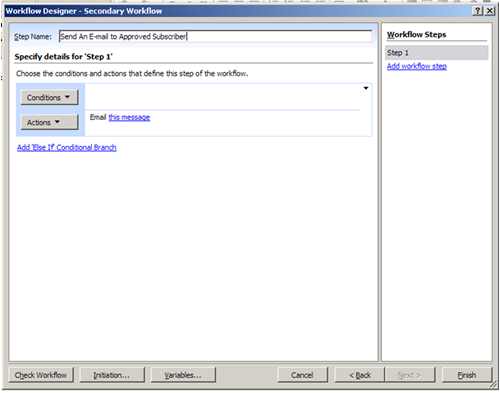
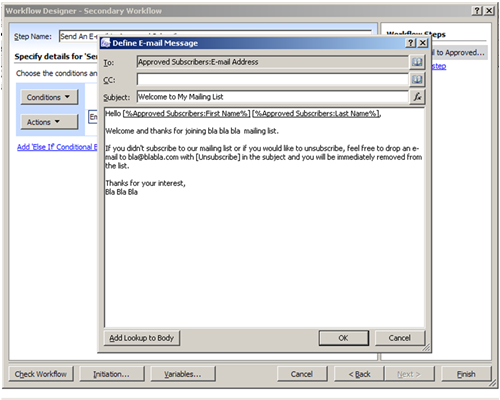
In my next article I will go into some completely new stuff when we explore SharePoint Designer Workflows. I will create a workflow that sends welcome e-mails to the list subscribers as soon as their requests to join the list are approved. And as we agreed in the introductory part, I will not write a single line of code.
About EndUserSharePoint:
EndUserSharePoint.com is a community of SharePoint authors dedicated to providing content to SharePoint End Users on three levels: Information Worker, Power User/Site Administrator and Site Collection Administrator.


