NOTE : This article was published on EndUserSharePoint.com a couple of weeks ago and because of the wonderful feedback I received, I decided to cross-post it here too.
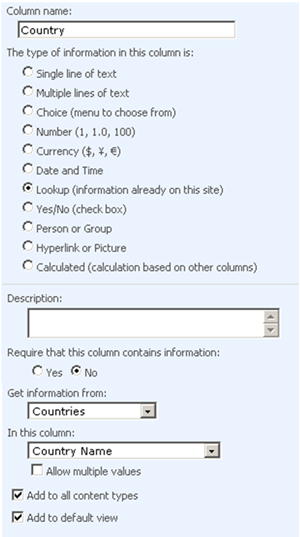
This is the sixth article in a multipart series that is intended to help you create mailing lists for your SharePoint sites or blogs without writing a single line of .NET Code. In the introductory article, I listed the project initiatives, requirements, and objectives. In Part 1, I created a secured backend where we will store the subscribers’ contacts. In Part 2, I configured the ‘Contact’ content type, created a subscription form for the mailing list and did some simple customizations to it. In Part 3, I utilized the thrilling DataFormWebPart to further extend and enhance the subscription form to meet the project requirements. In Part 4, I implemented requirement # 3 by creating a list that comprises the names of all the countries of the world and a lookup field that gets its values from this list. In Part 5, I showed you how to create the primary and secondary SharePoint Designer Workflows needed to meet our project requirements.
In the previous article, I showed you how to connect the approved contacts to Outlook by creating a workflow that is triggered when the list administrator approves a subscriber request moving their contact to the “Approved Subscribers” list. I have also provided you with some excellent resources if you need to know more about SharePoint Designer Workflows.
As I mentioned in Part 4, most of the questions that I have received lately focused on the sixth requirement. For easier reference, I have copied it below.
“List administrators should be able to send e-mails to all the approved and registered users specifying some filters. For instance, the list administrator should be capable of sending e-mails to all the registered users from Canada”.
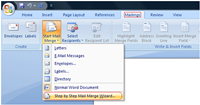
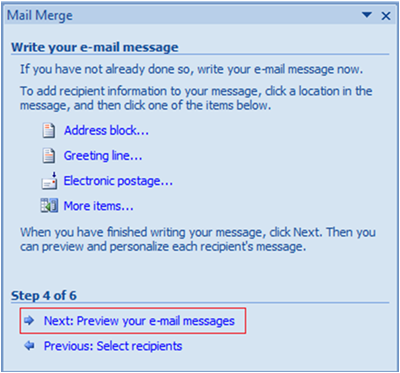
In this article, I will show you how to implement this requirement using Microsoft Word Mail Merge.
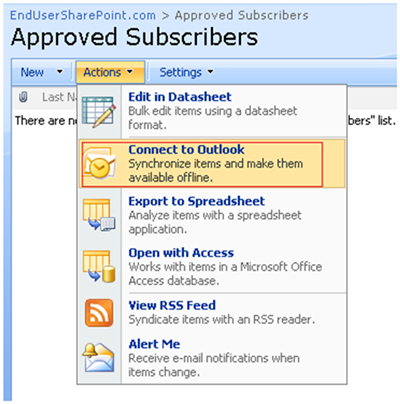
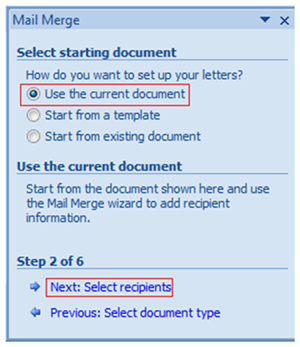
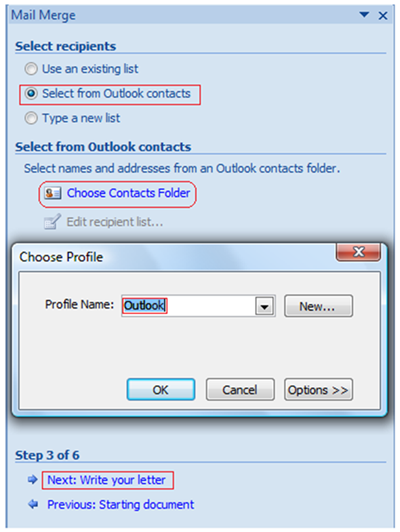
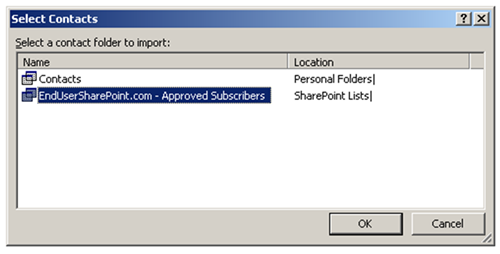
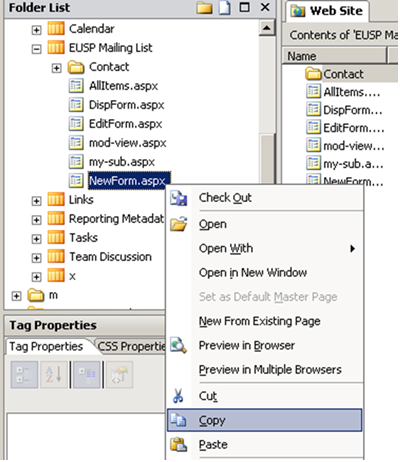
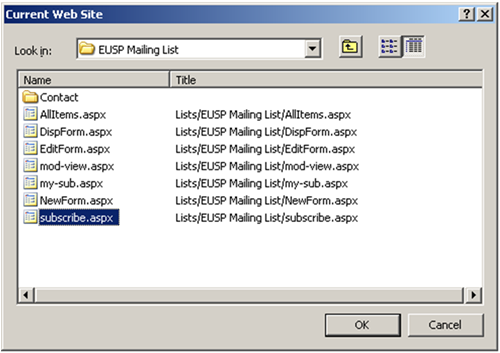
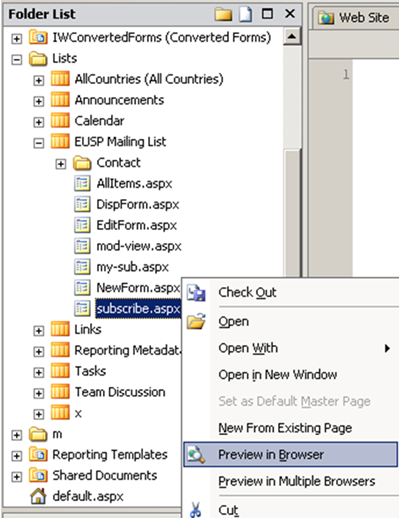
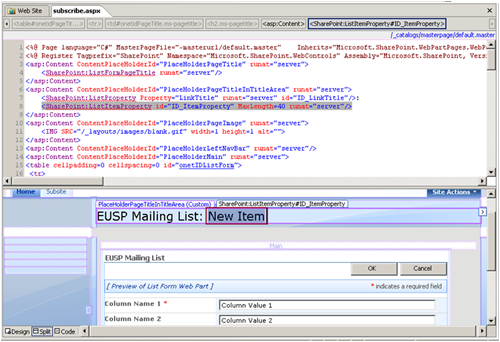
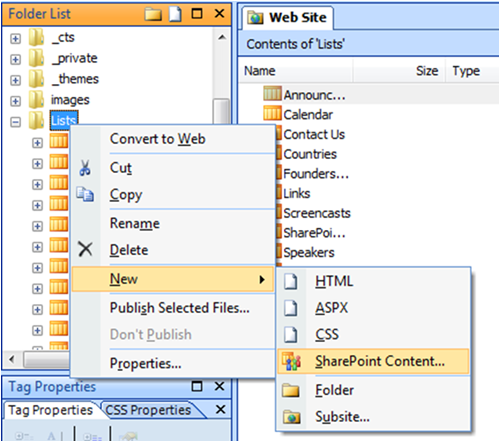
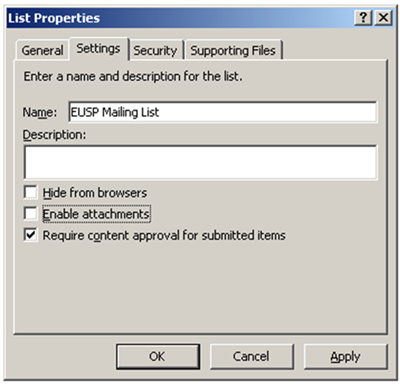
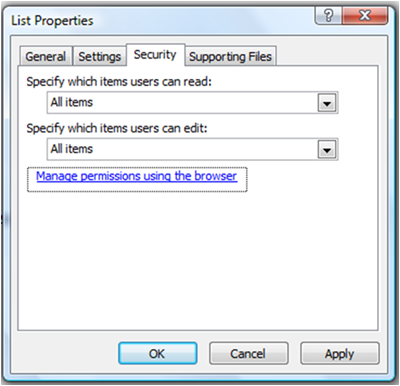
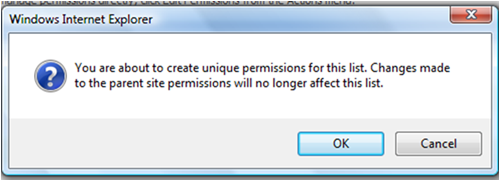
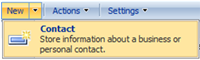
Unexpectedly, Microsoft Word has no option to pick a SharePoint list directly as the data source for a mail merge. However, we can work around this limitation by connecting our “Approved Subscribers” list to Outlook and selecting the Merge data source to be an Outlook Contacts List as shown in the following figures.


Summary
There you go! Yes, we are done; you can now create and administer your own mailing list for your SharePoint site or blog.
Since this series is intended to be educational, you should now be capable of:
- Creating and configuring SharePoint Lists using SharePoint Designer.
- Configuring anonymous contributions for SharePoint Lists.
- Creating simple SharePoint Designer workflows for sending confirmation mails to list subscribers.
- Configuring content approval for share point lists.
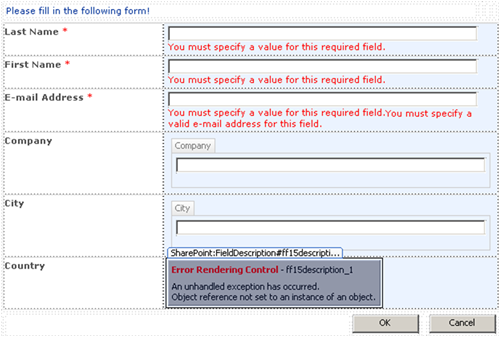
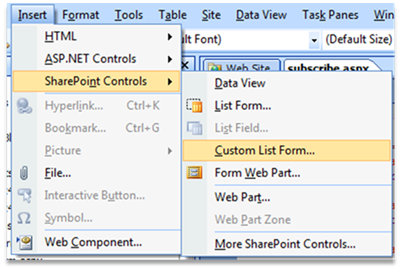
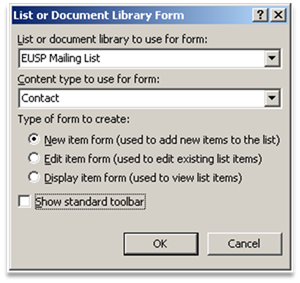
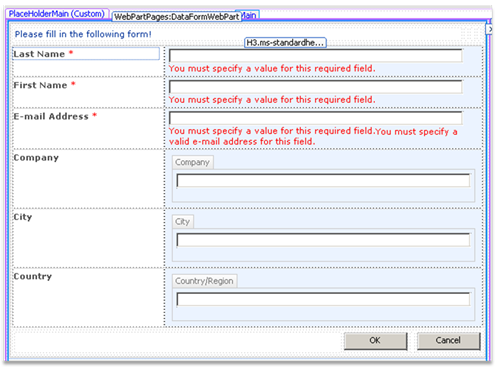
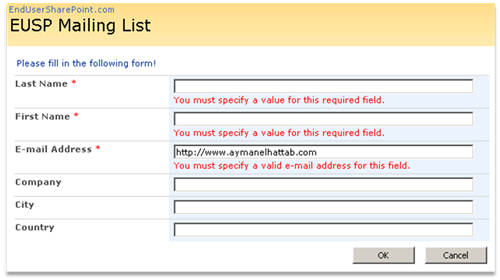
- Creating custom SharePoint list forms.
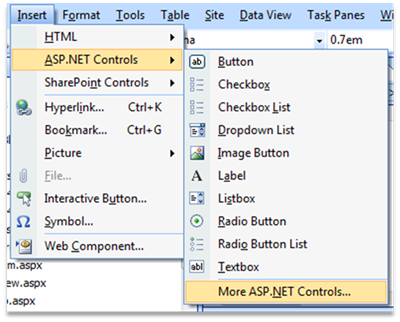
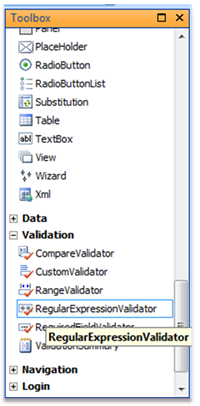
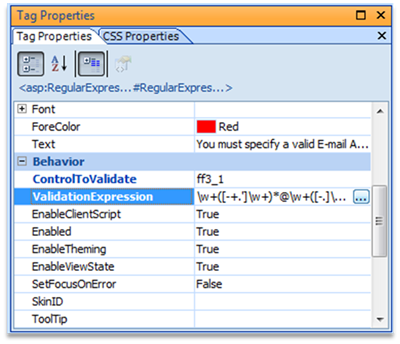
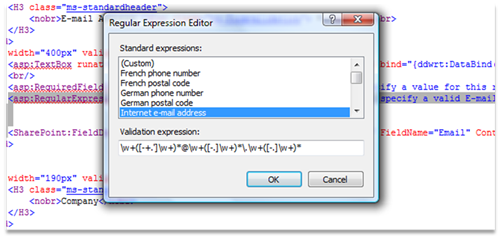
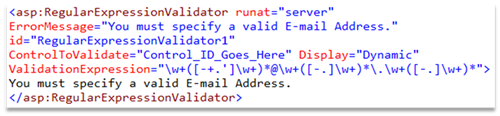
- Creating Client-Side validation for SharePoint list forms.
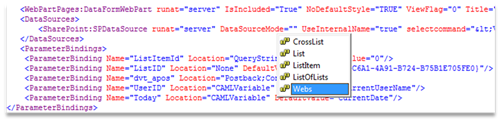
- Using the DataFormWebPart.
- Connecting SharePoint Lists to outlook.
- Using Word 2007 Mail Merge feature with SharePoint Lists.
- Using and creating SharePoint List Templates.
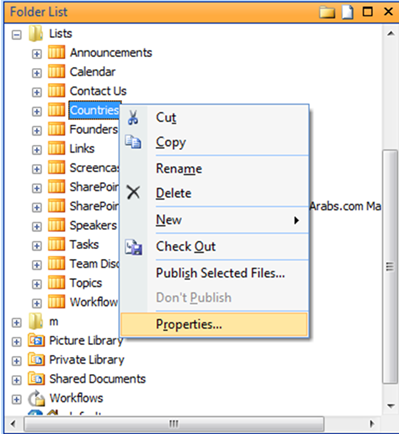
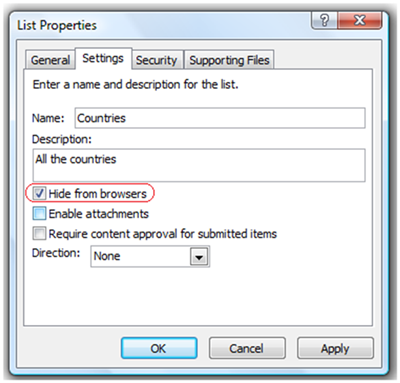
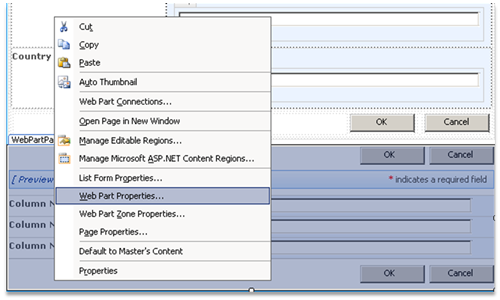
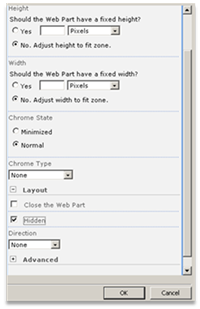
- Hiding SharePoint lists.
- Using lookup columns in SharePoint lists.
Again, I would like to thank everybody who took time to drop me an e-mail, follow me on twitter, or even leave me a comment. Your feedback, guys has always made my day.
So until I talk to you again (most probably about SharePoint 2010 ), check out my blog athttp://www.aymanelhattab.com , where you will find shorter articles, tips and tricks, questions and answers, and downloadable content. You can also follow me on Twitterhttp://www.twitter.com/aymanelhattab or drop me an e-mail at ayman.elhattab@gmail.com if you have any questions.
About EndUserSharePoint:
EndUserSharePoint.com is a community of SharePoint authors dedicated to providing content to SharePoint End Users on three levels: Information Worker, Power User/Site Administrator and Site Collection Administrator.


